
Hello all Pinque Peacock People!
My name is Faithe. I am a member of several
design teams, a blogger/crafter, and I am super excited to be telling you
about a really cool, and in my opinion, highly underrated product in this
edition of Pinque Peacock's Product Spotlight: The Sponge Dabber.


I first saw the sponge dabbers at Scrapfest
(a scrapbook expo in Oshawa, Ontario) a few years ago. I was at a stamping
booth trying out their new line of stamps and making a Christmas tag. The lady
at the booth suggested I add some pop to my project by inking the edges. I had
no clue how to go about this as all that was in front of me were big ink pads. Surely, if I tried to ink my small project it would make a huge mess right?
Thankfully make and take ladies are there to help you learn new things. So she
told me to take a sponge dabber and dab it onto the ink dabber.


Then place the sponge dabber along the
edges of your product. For an example, I am using a paper flower ornament that
I would like to make look more distressed.
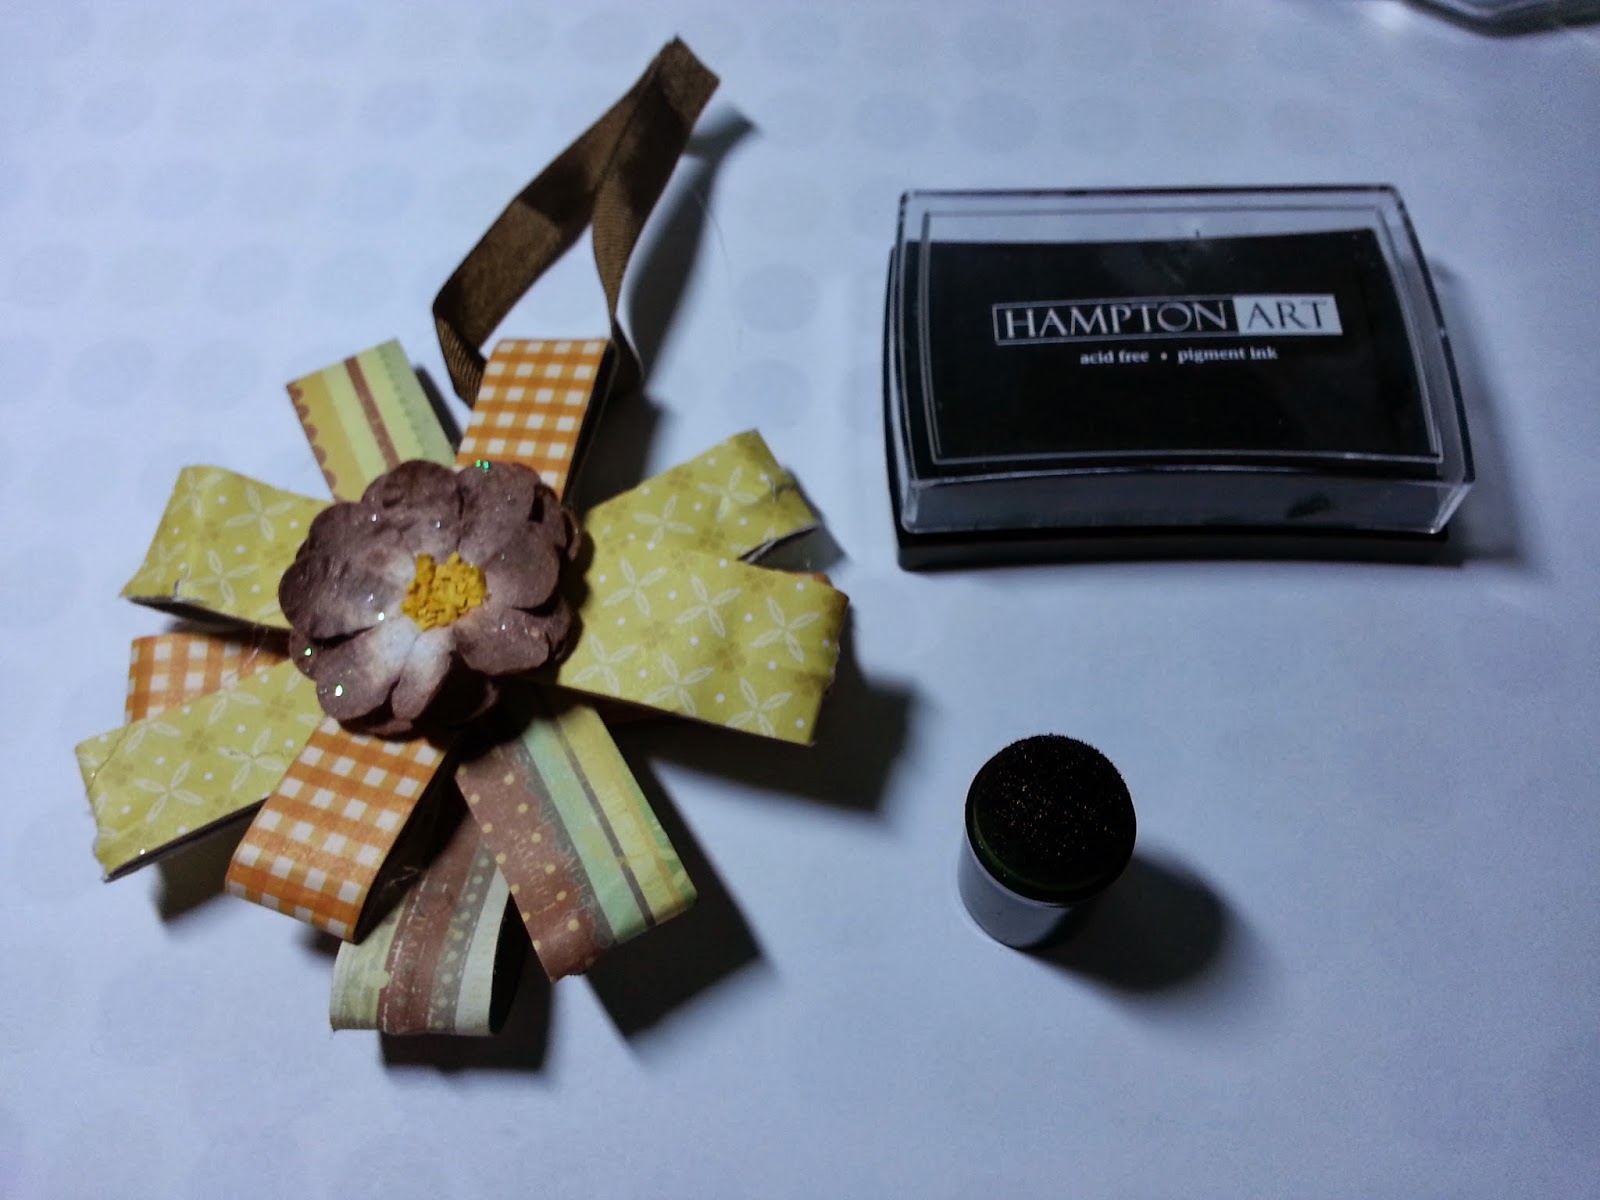
Continue doing this until all the edges of
your product are covered.

Mine has more ink in some parts because I
was going for a more rustic, distressed look. It is, however, also easy to use
this method to achieve clean smooth lines.
(Here is an example of cleaner lines
on a Christmas tag)

Please note, that after use of one color,
you should clean your dauber well, or just buy one for each ink you intend on
using it with . . . .or else this happens L :

I believe that the sponge daubers are an
underrated product because they are easy to look over in a store.
However if
you get a chance I highly suggest going to the Pinque Peacock store and picking
some up yourself because the possibilities are endless with use of these
daubers.
Direct Shop Link: Sponge Dabbers

One example of a use besides inking the sides of your projects is to
create a cloud effect. We all know clouds appear to be light and fluffy. In
order to achieve this type of look, simply dab the dauber first on the ink pad
then on your project in a random placement. Try to then go back over and layer
your dabs. This creates a light and fluffy look to the clouds. Shown here I
used black ink, which in turn created a storm cloud look.

You could also use your dauber to create
flowers (shown here), fluffy and full trees or caterpillars all of which are
perfect for spring.

So tell me, Pinque Peacock Friends, have you used
this product before?


